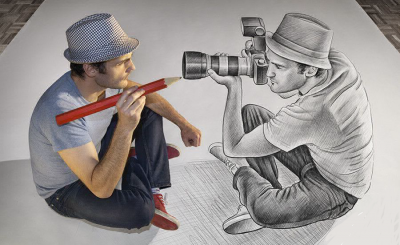
Using Technology To Create An Anamorphic Art
The trick to creating an anamorphic art is to use Photoshop or any other image editing software. Here’s what you’ll have to do:
- Open the image you want as art in Photoshop.
- Because the transform tool is used, later on, you will need the image to have its own layer. To do so, double click on the background and modify it into a layer.
- Now click on the image, then on canvas size to increase the size of the picture.
- Next click on edit, then transform and finally scale. A big Transform control box will surround the image. Using the anchor, you see in the middle, drag the control box up and hit enter. This should stretch the image.
- Click on edit again, go to transform and then perspective. The transform control box will again surround the picture. On the top justify side, there will be an anchor. Grab it and drag the picture to the justify and hit enter.
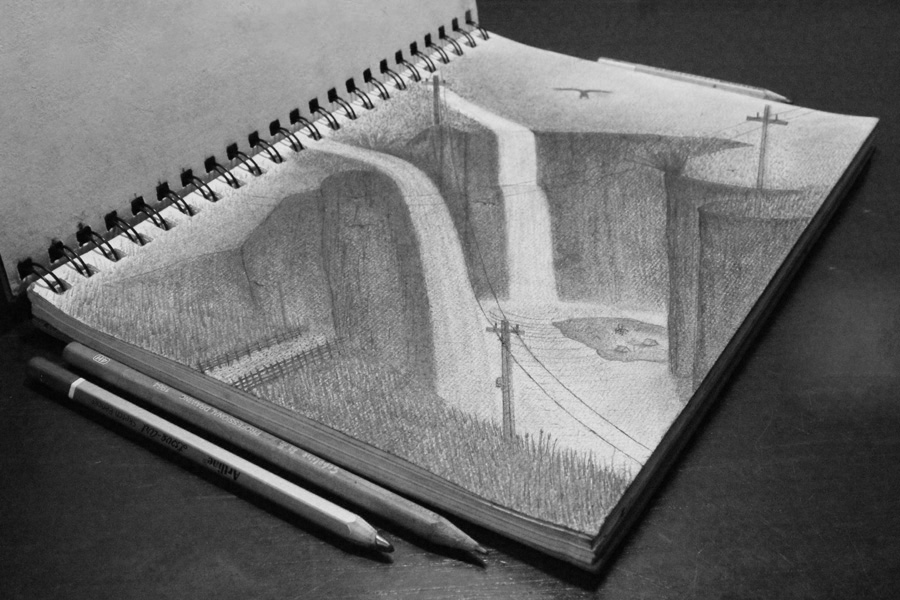
At this point, your art will be fat on top and small near the bottom. This is your reference to create anamorphic art. Print a copy of it.
How To Check If The Reference Is Right For Anamorphic Art?
To test if the reference image actually gives a 3D anamorphic effect, lay it on a flat surface. Take a camera and angle it 20 degrees higher than a line parallel to the image. Click a photo. If the photo looks 3D, then the reference for anamorphosis is good to go. If the image looks flat, then you need to redo the reference in Photoshop using the same steps. If you want to transfer the reference image to paper, wall, or floor, use a grid.