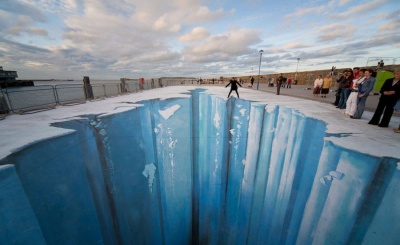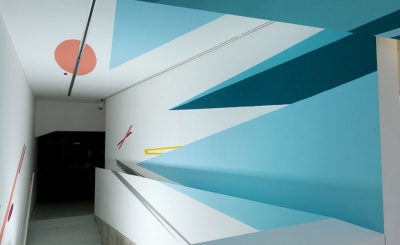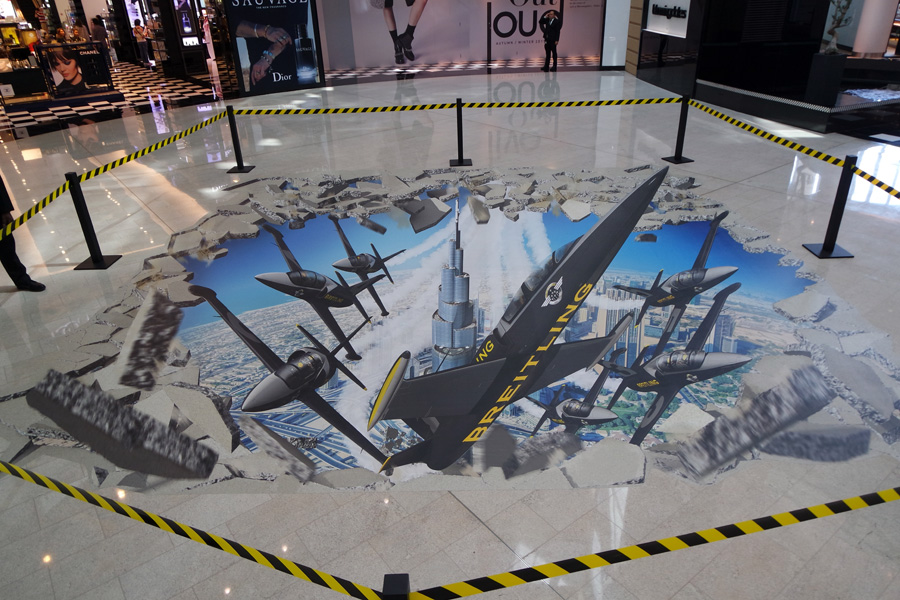
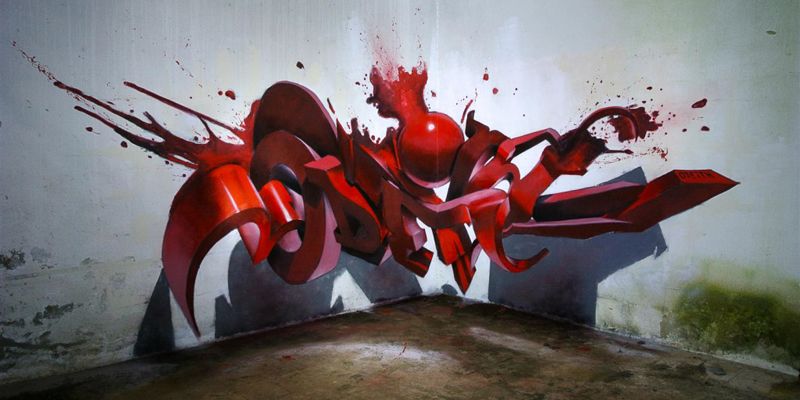
Have you ever wondered about the 3d art forms? You must have seen a quite a bit in internets and streets. This art seems to pop out every item it was created on. It is an illusion called Anamorphosis. The secret of such illusions is worth knowing. Many people who are familiar with this illusionary art form will probably say that it is no secret
“The art form is simply an elementary projection of the picture to the plane”. This is what is the technique of the art. However, It’s the blend of projection along with the sync of perspective. Of course the two go together, However as amateur’s, we need to get the cooperation of perspectives along with projections. Here are the tips and tricks to achieve your 3D form of art.
The tricks are broken into simpler steps.Let’s create a 3D :
Step 1: Get your draft image with the help of a digital camera.Open that image in your photoshop.
Step 2:To use the Transform tool,it is important to for the picture to have a layer.Double clicking the image in the background will make it into another layer.
Step 3:Enlarge the size of the canvas in accordance to your requirement.
Step 4:Use the transform menu in the photoshop software to transform your image.
Step 5: Use the anchor point to enlarge your or rather straighten up your image.
Step 6: Now again transform your image in accordance to the perspective required.
Step 7: Use the anchor points and make sure your image is fat or larger in the top and small in the bottom.
Step 8: Print the creation
Step 9: Image the creation with a digital camera.
Compare the two and your first basic 3d is ready.
Here is another method to do your artwork:
1.Development of the draft sketch is the primary steps for any art work. Drawing on the pavement is going to be the projection on to the plane. The projection seems at a angle to us. It ideally has a promising reduction. If the object is closer to the horizon the space required will increase.
2.Once you have done your draft, transfer it to the asphalt.You could very well use a projector to do it. To create your perspective, use a grid in space.
3.Drawing on the pavement will make the image look distorted on the plane. The image will look 3d only from one perspective.
4.Set the size of the rectangular area, grab your painting on the pavement to determine the perspective. Depending on the complexity of the image,the number of squares will increase.
5.On a similar note,let’s take an object and note the average height of the object. Set the yardage on the plane.and draw the centre line,at an angle of 90 degrees. Draw it to the edge of the image plane.
6.Connect the horizons for the sake of your conveniences by breaking it into segments with accurate scaling.
7.Determine the length and depth of the scale.Just to ensure how the grid will shrink in the perspective.Set the distance to the edge of your image.
8.Get a remote point from which the beam will intersect.It will enable us to determine the top of the square. Select the measurements by determining the size of your objects. Continue this in different angles to get your intersections right. This right intersection will determine your grid.
Once your grids and intersections are good, you are good to make your own 3d painting. Enjoy creating this ancient 3d art form on your own now.